Most music learners have experienced the shock of hearing their own playing or singing on a recording. What you imagine often sounds very different from what you actually produce. While this can feel discouraging at first, recording yourself is one of the most powerful tools for improvement. Professional musicians, teachers, and performers use recordings constantly to refine their craft—and beginners can benefit just as much.
In this article, we’ll explore why self-recording is so effective, how to start with simple tools, strategies for analyzing your recordings, and how to use them to accelerate your musical progress.
Why Recording Yourself Matters
1. Provides Honest Feedback
When playing live, you may not notice mistakes. A recording gives you objective feedback, highlighting areas that need improvement.
2. Builds Self-Awareness
You become more aware of tone, rhythm, dynamics, and phrasing. Self-awareness is the first step toward improvement.
3. Tracks Progress Over Time
Old recordings become benchmarks. Comparing them with new ones shows how much you’ve improved.
4. Prepares You for Performance
Listening to yourself mimics the experience of being in the audience, helping you build confidence and reduce stage fright.
5. Encourages Accountability
When you know you’re recording, you tend to play with more focus and attention to detail.
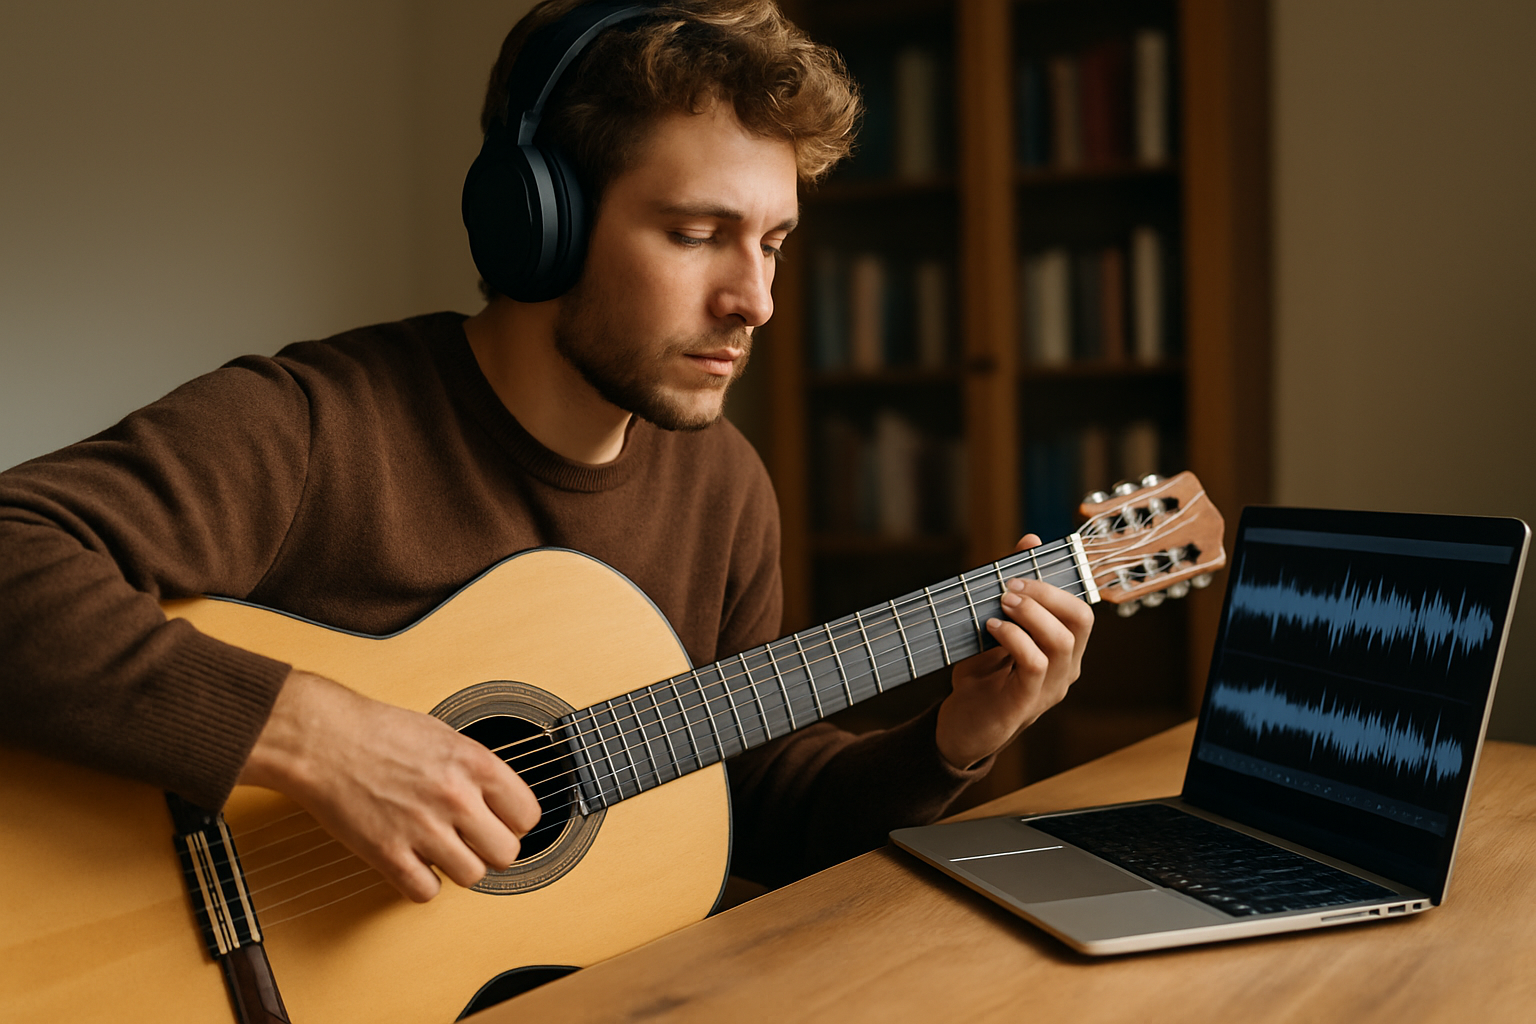
Getting Started: Recording Doesn’t Have to Be Complicated
Many beginners think recording requires expensive gear, but you can start with what you already have.
- Smartphones: Modern phones record surprisingly high-quality audio.
- Built-in computer mics: Good enough for practice analysis.
- USB microphones: Affordable upgrades for clearer sound.
- Audio interfaces: For those who want more professional results.
The key is not perfection but capturing enough detail to evaluate your playing.
Setting Up Your Recording Space
- Quiet environment: Choose a place with minimal background noise.
- Distance: Place the device about 3–6 feet away from you for balance.
- Consistency: Use similar setups each time to make comparisons fair.
- Lighting (for video): If recording video, ensure you’re visible for posture review.
What to Record
You don’t need to record every single practice. Focus on meaningful segments:
- Warm-ups and exercises (to check technique).
- Scales and arpeggios (to check consistency).
- Short pieces or sections of songs.
- Full performances for confidence building.
How to Analyze Your Recordings
Listening to yourself can feel uncomfortable, but it’s a skill worth developing. Here’s how to analyze productively:
1. Listen Without Judgment First
Play back the recording once just to hear the overall impression. Avoid nitpicking immediately.
2. Focus on One Element at a Time
On later listens, focus on specific aspects:
- Rhythm: Am I staying in time?
- Pitch: Are notes in tune?
- Tone: Does the sound match what I want?
- Dynamics: Am I varying volume appropriately?
- Expression: Am I conveying emotion or just playing notes?
3. Take Notes
Write down observations in a practice journal. Be specific: instead of “bad rhythm,” write “rushed in measures 8–12.”
4. Compare With Reference Recordings
Listen to professional versions of the same piece. Notice differences and think about how to close the gap.
5. Identify Priorities
Choose one or two issues to focus on in your next practice session. Don’t overwhelm yourself with everything at once.
How to Use Recordings for Improvement
1. Set Weekly Checkpoints
Record yourself once a week playing the same passage. Over time, you’ll hear clear progress.
2. Create Before-and-After Comparisons
Record at the beginning and end of a practice session. Notice how repetition improves accuracy and confidence.
3. Use Video for Posture
Watching yourself can reveal physical habits like tense shoulders, awkward finger angles, or poor breathing technique.
4. Share With Teachers or Peers
Send recordings to a teacher or fellow musician for feedback. They may catch things you didn’t notice.
5. Build Performance Readiness
Recording simulates the pressure of performing. Treat recordings like mini-concerts, which strengthens your ability to stay calm under pressure.
Overcoming the Fear of Hearing Yourself
Most beginners dislike hearing their recordings. This discomfort comes from the difference between how you sound in your head (through bone conduction) and how others hear you. Accepting this reality takes time.
Tips to overcome discomfort:
- Remind yourself: every musician starts somewhere.
- Focus on growth, not perfection.
- Celebrate improvements between recordings.
Common Mistakes to Avoid
- Recording too much: Don’t obsessively record every session. Use recordings as checkpoints, not replacements for practice.
- Being overly critical: Self-analysis is helpful, but don’t crush your motivation with harsh judgment.
- Ignoring progress: Always compare to older recordings to see improvement.
- Using poor setups: Bad microphone placement can misrepresent your sound.
Long-Term Benefits of Recording Yourself
- Clearer progress tracking: You’ll see just how far you’ve come.
- Stronger technical skills: Mistakes become easier to fix when you can hear them clearly.
- Increased self-confidence: Familiarity with your own sound reduces nerves.
- Better performance preparation: Recordings simulate the real pressure of live playing.
Final Thoughts: Recording as Your Silent Teacher
Recording yourself is like having a personal teacher available 24/7. It reveals truths you may not notice in real time, gives you a clear record of your progress, and keeps you accountable to your goals.
At first, it may feel uncomfortable, but with practice, you’ll come to see recordings as allies rather than enemies. Each playback is an opportunity—not just to criticize yourself, but to learn, adjust, and grow.
So grab your phone, press record, and listen carefully. Your recordings will become a mirror of your musical journey, reflecting both where you are now and how far you can go.